
How Long Do ATV Batteries Last: Let’s Find Out
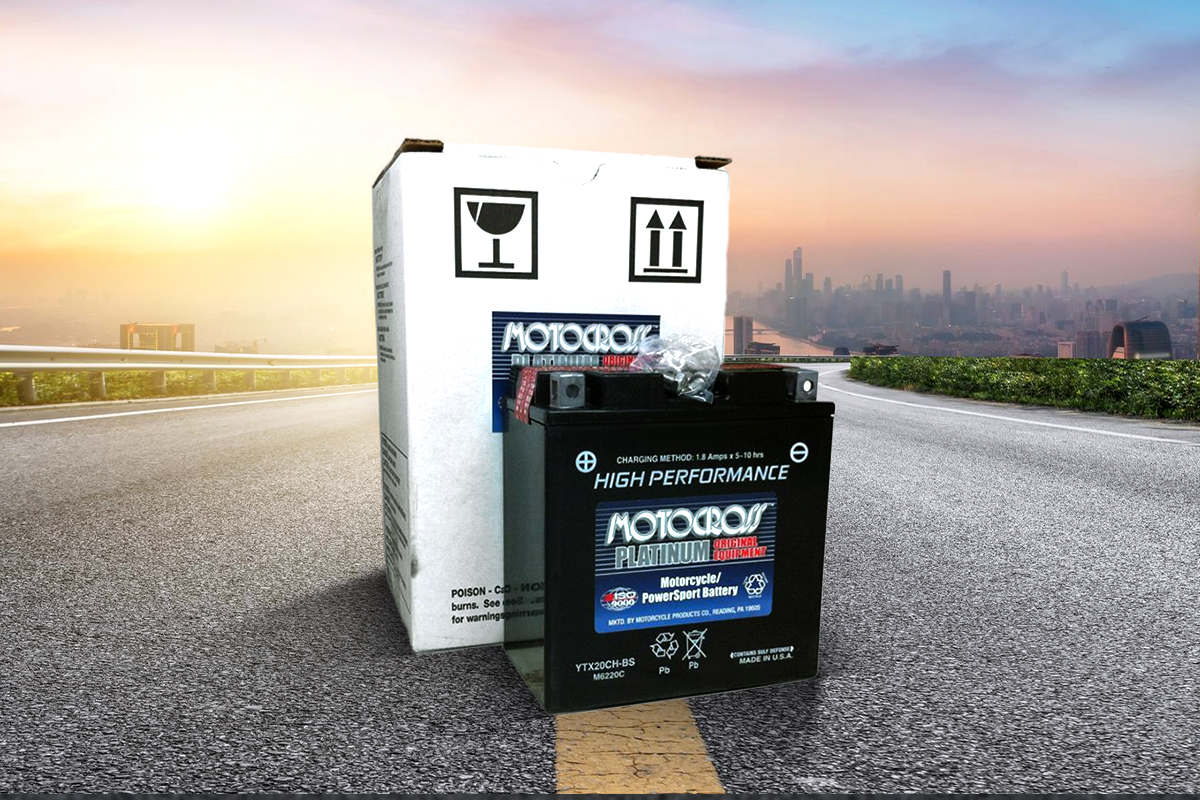
Nothing ruins a ride faster than a dead battery. One minute, the engine’s running. The next? Silence. Stuck on the road.
So, how long do ATV batteries last? Well, it depends. Some only last about two years. Others can go up to five.
It all comes down to the type of battery, how it’s used, and how well it’s cared for. Cold mornings and hot afternoons are tough on them. Leave it half-charged, skip maintenance, and it dies faster.
Batteries aren’t forever. Treat them right, and they’ll start every time. Ignore them, and they’ll leave you stranded. Keep reading to learn how to make your ATV battery last longer, avoid problems, and keep every ride running smoothly.
How Long Do ATV Batteries Last?
Under normal conditions, an ATV battery usually lasts 3 to 4 years. This is the typical set of expectations that mechanics and experienced riders use as a baseline. But it’s not a strict rule.
Battery life depends on several factors, especially the type of battery you choose. With proper maintenance, some batteries can go over five years.
Let them sit, get abused, or buy cheap, and they can fail in under two. That usually points to wiring issues, neglect, or low-quality batteries that weren’t made for the trail. Battery lifespan also depends on the technology:
Flooded lead-acid: 2–3 years
AGM (Absorbent Glass Mat): 3–5 years
Lithium-ion: 8–10+ years
Note: A battery’s lifespan depends mostly on the rider. Charge it right, store it smart, and it’ll reward you. Ignore it, and it’ll stop working, usually at the worst possible time.
What Determines Your ATV Battery's Lifespan: Types & Proper Care
A battery’s life comes down to two things: what’s inside it and what it goes through. Ignore one, and it won’t last. Treat both right, and it can keep running for years.
Cold mornings, rough trails, and long storage all wear down a battery. How it’s charged, stored, and used matters just as much as the type you buy.
The Right ATV Battery Type For You
Not all batteries are made the same. Some shrug off vibration, heat, and neglect. Others fail at the first sign of trouble. Here’s a breakdown:
Battery Type | Lifespan | Pros | Cons | Best For |
Lead-Acid (Flooded) | 2–3 yrs | Cheap, widely available | Heavy, needs regular maintenance, and spills easily | Budget riders, older ATVs, light use |
AGM | 3–5 yrs | Maintenance-free, spill-proof, tough, better cold starts | Higher cost, sensitive to overcharging, and heat can harm | Most riders, (Balanced performance, and value) |
Gel Cell | 3–5 yrs | Spill-proof, mounts any way, good deep-cycle | Charges slowly, cold reduces capacity, expensive | Specialty rigs, deep-cycle use, extreme angles |
Lithium-Ion | 8–10+ yrs | Super light, charges fast, holds charge long | High upfront cost, needs a special charger, and cold mornings are tricky | Performance riders, racers, long-term reliability seekers |
The 5 Critical Factors Beyond Battery Type
Even the best lithium battery can fail in a season if treated poorly. Beyond the battery itself, these five things decide how long it will actually last.
Temperature Extremes: Batteries hate heat. It accelerates corrosion and wears them out quickly. Cold doesn’t destroy them, but it steals power. A battery that cranks fine at 60°F might struggle at 20°F. It’s not dead, just cold.
Usage Patterns: Regular rides keep the chemistry active and the charge full. Let it sit for months, especially partly dead, and sulfation starts. You may need to use a desulfator to remove sulfation inside the battery.
Charging System Health: The battery relies on the ATV’s charging system. Bad regulators or stators can overcharge, undercharge, or drain it slowly.
State of Charge During Storage: Always store a battery fully charged. Low charge during storage speeds up damage.
Maintenance Quality: Flooded lead-acid batteries require water to be added. AGM and gel batteries are sealed, but terminals still need cleaning and tight connections.
How to Tell If Your ATV Battery Is Failing
Spotting a dying battery early can save you from trouble and getting stranded. Most batteries show small warning signs before they fail completely. Knowing these signs is the first step in understanding when to replace the battery in an ATV.
Symptom | What It Means | Quick Check |
Slow engine crank or clicking | Battery is weak or low | Test voltage. Healthy: 12.6V+, needs charging below 12.4V, very low below 12.0V |
Dim headlights or weak accessories | Battery can’t hold charge | Check terminals for corrosion. Clean with a wire brush and baking soda + water |
Needs frequent jump-starts | Battery can’t keep a charge | Do a load test at an auto parts store |
Bulges, cracks, leaks | Battery is damaged | Replace immediately. Do not use |
Low electrolyte (flooded batteries) | Plates may be damaged | Check fluid. Add distilled water if needed. Dry plates mean the battery is bad |
A battery may read 12.7V after charging, but if it drops below 10V when starting, it has no power. If your battery is over three years old and shows any of these signs, plan a replacement before it leaves you stranded.
How to Make Your ATV Battery Last Longer
An ATV battery can last several years, but only when it is charged, stored, and maintained correctly. Weather affects battery performance, but neglect usually causes more damage than temperature alone. Long periods of inactivity, loose terminals, deep discharging, improper charging, and low electrolyte levels can all shorten battery life.
Proper ATV battery maintenance is especially important during winter or other off-season periods. A battery left partially discharged may develop sulfation, lose capacity, or even freeze in extremely cold conditions. Following the steps below can help improve starting reliability and delay the need for an ATV battery replacement.
Remove and Clean the Battery
Before storing your ATV, switch off the ignition and remove the battery according to the manufacturer’s instructions. Disconnect the negative terminal first, followed by the positive terminal. When reinstalling the battery, connect the positive terminal first and the negative terminal last.
Inspect the battery case for swelling, cracks, leaks, or other damage. A damaged battery should not be charged or reused because it may leak acid, overheat, or fail unexpectedly.
Clean dirt, mud, and moisture from the battery case. Dirt can hold moisture and create a small electrical path between the terminals, which may gradually discharge the battery. Use a damp cloth for general cleaning and dry the battery completely afterward.
If the terminals have white, blue, or green corrosion, clean them with a battery-terminal brush. A small amount of baking soda mixed with water can be used on external corrosion around lead-acid battery terminals, but the solution should never enter the battery cells. Dry the terminals and apply a light coating of terminal protectant or dielectric grease.
Fully Charge the Battery Before Storage
Never store an ATV battery in a deeply discharged condition. A partially discharged lead-acid battery is more likely to develop sulfation, a process in which hardened lead sulfate crystals form on the plates and reduce the battery’s ability to hold a charge.
Use a charger that matches the battery chemistry and voltage. AGM, flooded lead-acid, gel, and lithium batteries may require different charging profiles. Using the wrong charger can cause undercharging, overheating, swelling, or permanent battery damage.
Allow the battery to reach a full charge before placing it in storage. Do not rely only on the charger’s indicator if the battery appears weak or damaged. A battery that quickly shows “full” but loses voltage soon afterward may already have reduced capacity.
Disconnect the Battery or Use a Smart Maintainer
Many ATVs continue drawing a small amount of power while switched off. Clocks, electronic control modules, alarms, stereos, GPS units, and other accessories can create a parasitic drain that slowly discharges the battery.
Disconnecting the negative cable can reduce this drain. However, the most reliable option for long-term storage is usually a compatible smart battery maintainer. A maintainer monitors battery voltage and delivers power only when needed.
Do not confuse a modern battery maintainer with an old, unregulated trickle charger. A basic trickle charger may continue supplying current after the battery is full, increasing the risk of overcharging and electrolyte loss. A quality smart maintainer automatically switches between charging, monitoring, and maintenance modes.
Lithium ATV batteries require special care. Use only a maintainer approved for the specific lithium chemistry, and avoid chargers with automatic desulfation modes unless the battery manufacturer explicitly allows them.
Store the Battery in a Suitable Location
Store the battery upright in a dry, ventilated location away from sparks, flames, direct sunlight, and children. Avoid placing it near heaters, furnaces, or other sources of high temperature.
Heat accelerates battery aging and self-discharge. Cold temperatures temporarily reduce available starting power, but a healthy, fully charged lead-acid battery can generally tolerate cold storage better than a discharged one. A severely discharged battery may freeze and crack in very low temperatures.
A moderate storage temperature is preferable. Approximately 50–70°F, or 10–21°C, is suitable for many battery types. Do not place the battery directly on a wet floor or in an area with major temperature fluctuations.
Check the battery periodically during storage. Even when disconnected, batteries slowly lose charge. Recharge the battery when necessary rather than allowing it to remain below its recommended storage voltage for months.
Ride the ATV Regularly
ATV batteries perform best when they are used and recharged regularly. However, briefly starting the engine and letting it idle for a few minutes may not replace the energy used during starting.
The charging system generally works more effectively when the engine runs at normal operating speed. If possible, take the ATV for a proper ride rather than starting it only for a short idle session.
When the ATV will remain unused for several weeks, connect the battery to a smart maintainer. This is more reliable than repeatedly starting the engine without riding long enough to restore the charge.
Frequent short trips, repeated starting attempts, winch use, heated grips, auxiliary lights, and sound systems can consume more electricity than the charging system replaces. In these cases, periodic external charging may still be necessary.
Inspect and Tighten Battery Connections
Loose or corroded battery terminals increase electrical resistance. This can cause slow cranking, intermittent power, flickering lights, clicking sounds, and starting problems that are often incorrectly blamed on a dead battery.
Check that both terminal connections are clean and secure. Do not overtighten them, because excessive force may damage the terminal post or battery case.
Inspect the cables for fraying, melted insulation, corrosion, or loose grounding points. Pay particular attention to the negative cable where it connects to the frame or engine. A poor ground can create the same symptoms as a weak battery.
Also inspect accessory wiring. Improperly installed lights, winches, chargers, and USB ports can cause parasitic drain or short circuits.
Check Electrolyte Levels in Flooded Batteries
This step applies only to serviceable flooded lead-acid batteries. Sealed AGM, gel, and most lithium batteries should not be opened.
Check the electrolyte level according to the battery manufacturer’s instructions. The internal plates must remain covered. If the level is low, add only distilled water. Tap water contains minerals that may contaminate the cells and reduce battery life.
In most cases, check and adjust the water level after charging because the electrolyte expands as the battery charges. However, if the plates are already exposed, add just enough distilled water to cover them before charging, then adjust the final level afterward.
Never overfill the cells. Excess electrolyte may overflow during charging, causing corrosion and acid damage around the battery compartment.
Avoid Deep Discharging
Repeatedly running an ATV battery completely flat can significantly shorten its service life. Starting batteries are designed to provide short bursts of current, not repeated deep-cycle use.
Turn off lights, heated accessories, radios, and other electrical equipment when the engine is not running. Avoid prolonged winch operation without allowing the charging system time to recover.
If the battery repeatedly goes dead, do not simply recharge it and ignore the cause. Test the battery, charging system, voltage regulator, stator, and electrical accessories. A recurring dead battery often indicates an underlying fault.
Use the Correct Charger
Choose a charger that matches the battery’s voltage, capacity, and chemistry. A charger designed for a large automotive battery may provide too much current for a small ATV battery.
Smart chargers are generally safer because they regulate voltage and current throughout the charging process. Many include separate settings for flooded, AGM, gel, and lithium batteries.
Connect the charger in a well-ventilated area and follow the manufacturer’s polarity instructions. Usually, the positive charger clamp connects to the positive battery terminal and the negative clamp connects to the negative terminal.
Stop charging immediately if the battery becomes excessively hot, swells, leaks, produces a strong odor, or makes unusual noises. These signs may indicate internal damage or an incorrect charging setting.
When to Replace an ATV Battery
Even a well-maintained battery will eventually wear out. Replacement may be necessary if the battery struggles to crank the engine after a full charge, repeatedly loses voltage, has visible swelling or leakage, or fails a load test.
Before replacing it, confirm that the ATV charging system is functioning correctly. Installing a new battery will not solve problems caused by a faulty stator, regulator-rectifier, damaged wiring, or excessive parasitic drain.
The best way to extend ATV battery life is simple: keep it charged, use the correct charger, maintain clean and tight connections, and never leave it deeply discharged for long periods. These habits can improve reliability, reduce starting problems, and help you get the maximum practical life from the battery.
Charging & Replacing Your ATV Battery
When maintenance isn’t enough, knowing how to charge or replace your battery safely becomes a necessity. Do it wrong, and you risk damaging the battery or yourself.
Charging Correctly
Not every charger works with every battery. Using the wrong one can be dangerous.
12V smart chargers work for flooded, AGM, and gel batteries.
Lithium Iron Phosphate (LiFePO₄) batteries need a charger made for lithium. Using a lead-acid charger can confuse the battery’s management system or start a fire.
How to Charge Safely:
Charging a battery is easy if you do it right. Follow these steps:
Connect the positive (red) clamp to the positive terminal.
Connect the negative (black) clamp to the negative terminal or a clean metal part of the frame.
Plug the charger into the wall after connecting to the battery.
Select the correct battery type on the charger (AGM, Lithium, etc.).
Watch it for a few minutes. If it gets too hot, unplug it immediately.
Safety Notes: Charge in a ventilated area, never charge a frozen or damaged battery, and stay clear of sparks or flames.
When and How to Replace
If the battery is old or showing warning signs, don’t fight it. Replace it. Doing it right means long-lasting performance. Choosing the Right Battery:
Size: Must fit your battery box.
Polarity: Positive and negative terminals must match your ATV.
Cold Cranking Amps (CCA): You can go higher than stock, but never lower.
Type: Consider upgrading from flooded to AGM or lithium for reliability. AGM batteries are a popular upgrade, offering maintenance-free performance and greater vibration resistance.
Installing a New Battery:
A new battery is only as good as its installation. One careless move and it could fail early or cause sparks. Take a few extra minutes to do it right:
Remove the old battery: Negative (-) cable first, then positive (+). This prevents shorts.
Prep the new battery: Flooded batteries may need acid added. AGM and lithium are usually ready to go.
Install the new battery: Connect positive (+) first, then negative (-). Add a small amount of dielectric grease or petroleum jelly to prevent corrosion.
Secure it: Tighten the hold-down bracket. A loose battery can short or get damaged.
Do it right, and your battery starts strong, giving you years of reliable, hassle-free riding.
Frequently Asked Questions (FAQs)
People often get stuck with dead batteries because they listen to garage myths instead of facts. Here are some most asked questions to help you out:
Is it safe to use a car battery charger on my ATV battery?
It’s risky. Car chargers pump too many amps, which can fry a small ATV battery by boiling the electrolyte and warping plates. If you must use one, set it to the lowest amp setting (2 amps or less) to avoid cooking the unit.
Why does my battery die even when I’m riding every week?
Your charging system might be the culprit. Starting the engine drains massive power. Short, low-RPM rides might not give the stator enough time to replenish that energy. Test the running voltage; it should read 13.5-14.5V. Anything less means the battery is slowly starving.
Can a completely dead ATV battery be saved?
It depends. If it’s just deeply discharged, a smart charger with a "recondition" mode might revive it. But if it sat dead for months, sulfation has likely destroyed the internal plates. If it won’t take a charge or gets hot instantly, it’s permanently toast.
Do I really need to disconnect the battery for just a month of storage?
Yes. Modern ATVs have parasitic draws (clocks, ECUs) that slowly drain power. Even a month can pull a battery low enough to start sulfating. Disconnecting the negative cable takes seconds and guarantees these electronics won't kill your battery while it sits.
What is the white powdery stuff on my battery terminals?
That’s corrosion caused by acid fumes reacting with metal. It creates resistance, blocking power flow and mimicking a dead battery. Don’t just scrape it, neutralize it with a baking soda and water paste first. Then rinse and apply dielectric grease to prevent it from drying out.
Is it worth spending double the money on a Lithium battery?
For long-term owners, definitely. A lithium battery costs more upfront but lasts 8-10 years, while you’d replace a cheap lead-acid unit 3-4 times in that span. You save money and effort over time, plus you drop significant weight from the machine.
Ready to make your ATV battery last longer
Your ATV battery keeps every ride going. But how long do ATV batteries last? It really comes down to care and choice. Average of 3–4 years, but choosing AGM or Lithium and sticking to simple routines is key.
Let’s say, proper charging and smart storage can easily stretch that to five, six, or even ten years. A little time with a smart charger and basic maintenance goes a long way.
Keep the battery clean, charged, and secure, and it will start your ATV reliably every ride. Treat it like an important part, and it won’t leave you stranded.


