How to Replace a Motorcycle Battery

Motorcycle batteries are designed to last as long as possible, but over time, they deteriorate and need to be replaced. As the electrolytes do their job, they cause a solid buildup on the plates, which causes them to lose their ability to conduct electricity. Although nothing can be done to completely stop this deterioration, the proper installation of a motorcycle battery will ensure that it is working at peak efficiency and increase its longevity.
Specific installation instructions depend on the type of battery being installed and the model of motorcycle in which it will be installed. It is always recommended to follow the instructions from the manufacturer of the battery, but a few general guidelines can help in the replacement process.
Remove the Old Battery
Before the new battery can be installed, the old one must be removed. The first step is to check the battery and its immediate surroundings for leaking battery acid or crystallized acid deposits. These are corrosive and should not be touched with bare skin. Corrosive material can be brushed off or wiped away with a thick towel and discarded.
To remove the old battery, it is necessary to disconnect the leads. The negative cable should be removed first to prevent sparking or other types of electrical discharge. The discharge from a motorcycle battery can be strong enough to cause pain, severe burns or even a heart attack.
After the battery is removed from the bike, the cable connectors should be cleaned with a wire brush in order to eliminate any acidic buildup on the metal. It is necessary to ensure that the cables will make a solid connection with the posts on the new battery.
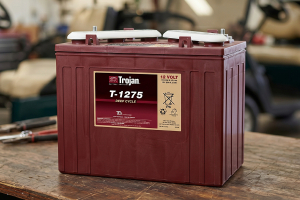
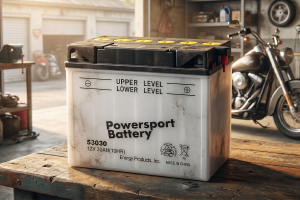
Installing a Standard Battery
A standard motorcycle battery will have been pre-charged, but an average of 30 percent of the charge may have dissipated by the time it is ready to be installed. In most cases, a 70 percent charge is enough for the motorcycle to start, and the alternator will rapidly bring it back to full capacity. However, many people prefer to charge the battery before it is installed. It is also recommended to check the electrolyte levels in each cell before installing it in the bike.
When the battery is fully charged and the electrolytes are at the proper level, make sure the cell lids are securely replaced. If the battery has a ventilation plug, it should be removed, but do not tilt the battery or it may leak. The ventilation tube can now be attached to the vent port, and the battery can be placed in the bike's battery tray.
After the battery is secured to the tray, the positive lead can be connected to the post and tightened. Once the positive lead is connected, the negative lead can be attached. The leads should be just to the point where they are tight. If they are overtightened, permanent damage to the battery may result.
Installing a Factory-Sealed Battery
Factory-sealed motorcycle batteries are much simpler to install than standard batteries. After making sure that the battery is fully charged, all that has to be done is to secure it to the battery tray and connect the cables. The negative cable should always be connected last.