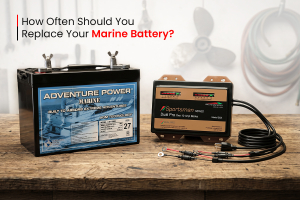
How to Replace Your RV Batteries
RVs typically have two categories of batteries: house and starting. Malfunctioning house batteries may cause your electrical equipment like televisions, air conditioning, and refrigerators to behave erratically and if you are without a generator, you may be in a bit of trouble. Be prepared by checking the condition of your batteries regularly. This is a vital preventative maintenance check that doesn’t take much effort.
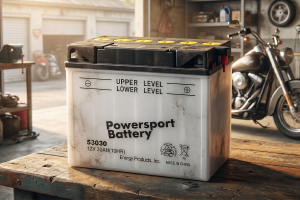
In the event that your starting battery dies, it is possible to jump it in the same way you would jump your car. If the starting battery does not maintain a charge and you receive warning indications from your indicator lights on the RV, then it is time to replace your starting battery. If your house batteries do not maintain a charge, you need to replace them together (if more than one).
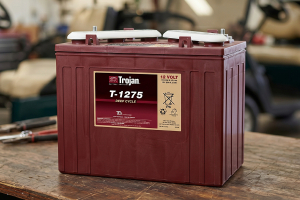
Having one good battery and one bad battery does not help as you would shorten both of their useful lives. House batteries may be connected in parallel or in series which means that your electrical system will draw power from both batteries together. For example, if you have two 210Ah house batteries connected in parallel, your system has 420Ah to draw from. Keeping spare house batteries onboard is generally not an option as they are large, heavy, and expensive. If maintained properly, an AGM house battery, for example, will generally last up to eight years.
Some RVs will provide charging capability from the engine’s alternator so that while you are driving down the road, your batteries are either charging or being maintained. (It is bad to overcharge).
Secondly, while you’re parked, enjoying the beautiful scenery, you may have solar panels or wind power generating capabilities that will serve the same function. You should always install a regulator to maintain the amount of power being supplied to the batteries. Check the owner’s manual of your power generation equipment.

Steps for Replacing Your RV Battery
Here are the steps you will need to follow to replace your RV batteries:
Step 1: Power Down: If changing house batteries, you will generally have a main disconnect switch that will secure all direct current (DC) power to user equipment. Turn this switch to the off position. If you do not have a main disconnect switch, power down all individual breakers and switches to components such as lights, refrigeration, and televisions. If changing a starting battery, shut off the engine. (Removing power cables from batteries while equipment is running may cause damage to the equipment).
Step 2: Open the Battery Hatch. Review your owner’s manual for the location of your house batteries or starting battery. For safety, it is recommended to wear eye protection.
Step 3: Remove negative (black) cable terminal from battery first. This may require a socket wrench or pliers for those stubborn wing nuts. Take care as to not strip the nut if it is over-tightened.
Step 4: Remove the positive (red) cable terminal from the battery. It is very important to not let the negative and positive cable terminals touch each other. It is even MORE important to not touch the terminals with your hands; if you touch both red and black at the same time, you will complete the circuit and not be around to enjoy your RV any longer.
Step 5: Using care to not strain your back, remove the batteries from their compartments. It is advisable to seek assistance as house batteries are very heavy. Starting batteries are more manageable single-handed.
Step 6: Replace the empty battery compartment with your brand new batteries.
Step 7: Attach the positive (red) cable terminal to the positive terminal post on the battery. Re-thread the nut taking care to not over-tighten or strip the threads.
Step 8: Using caution, replace the negative (black) cable terminal to the negative terminal post on the battery. Re-thread the nut as you did in step 7.
Step 9: Ensure batteries are secure and close the compartment.
Step 10: For your starting battery, once replaced, start up the RV and go! For your house batteries, turn the main disconnect switch to the on position and test your individual breakers and switches to verify power.
NOTE: For house batteries, if your RV comes with a voltage meter, test the voltage of your batteries. If the battery indicates over 13 Volts of Direct Current (VDC) then they are in great condition. You should replace batteries that cannot maintain over 10-11VDC. If your batteries indicate low voltage, try to charge and re-test.
NOTE: Batteries should not be disposed of in the trash. Please take your spent batteries to the nearest service station and ask for advice on how to dispose.