How Long to Charge an ATV Battery at 2 Amps? (The Complete Guide)
Most ATV riders only think about the battery when the machine refuses to start. One moment, everything is fine, and the next, there's silence when you turn the key. It's a common frustration, and it almost always points to a low or dead battery.
So, how long does it take to charge an ATV battery at 2 amps? In most cases, an ATV battery will take about 4 to 10 hours to fully charge at a 2-amp rate. Smaller batteries usually charge faster, while larger or deeply drained ones take longer.
If the battery has been sitting unused for a while or is completely flat, expect it to need extra time before it's ready for use again.
Most chargers will signal when charging is complete or slow down near the end. Letting the process finish fully helps protect battery health and guarantees reliable starts for your next ride.
Why Do You Need to Charge an ATV Battery at Exactly 2 Amps
Charging an ATV battery at 2 amps is often described as the "safe zone," but whether it is truly ideal depends on how you look at it. Some call it careful engineering, others call it an outdated rule.
Some say 2 amps is gentle on lead-acid batteries. It reduces heat buildup, limits internal stress, and allows chemical reactions to complete properly. This slow approach can extend battery life, improve charging consistency, and reduce the risk of electrolyte loss or overcharging damage.
Others argue there is nothing special about 2 amps. It is simply a conservative recommendation that does not account for battery size or smart charging technology. Many modern ATV battery charger models safely adjust current automatically, making a fixed 2-amp rule feel unnecessarily restrictive.
The truth is balance. 2 amps is a safe baseline, not a strict law, and should be treated as guidance rather than a rule.
ATV Battery Charging Time Formula
Most riders just want a number. They want to know when they can ride again. To find that number, you need a little bit of math. It's not scary math, though. Think of your battery like a fuel tank. The amp-hour capacity tells you how big the tank is. The charger is the pump.
If you use a 2-amp charger, you are putting two amps of current back into that tank every hour. But batteries aren't perfectly efficient. Some energy turns into heat. Because of this, we add a 25% "tax" to the time.
The Charge Time Calculation:
(Battery Capacity in Ah / 2 Amps) x 1.25 = Estimated Hours
Let's look at a common 14Ah battery. You divide 14 by 2. That gives you 7. Then, you multiply 7 by 1.25. The result is 8.75 hours. If you need a reliable 14Ah AGM battery replacement for your quad, that same capacity is one of the most popular sizes on the trail.
Battery Size (Ah) | Time to Full (from 0%) | Time to Full (from 50%) |
10 Ah | 6.25 Hours | 3.1 Hours |
14 Ah | 8.75 Hours | 4.4 Hours |
20 Ah | 12.5 Hours | 6.2 Hours |
30 Ah | 18.75 Hours | 9.4 Hours |
Pro-Tip: Use an ATV battery charge time calculator to skip the manual math. Just plug in your voltage and Ah rating.
Why 2 Amps is the Optimal Charge Rate for Powersports Batteries
Charging an ATV battery is not about speed. It is about keeping the battery safe while still getting a full charge. Because these batteries are small, the charging rate needs to be gentle and controlled. That is why 2 amps is often the best choice.
Keeps the battery cool: Low heat helps prevent damage and extends battery life.
Protects internal parts: A steady current reduces stress on the lead plates inside the battery.
Charges more evenly: Slow charging gives the battery time to absorb energy properly.
Prevents damage: Less heat means lower risk of warped or worn-out plates.
Good balance of time and safety: It is not too slow and not too aggressive.
Better than very low charging: A 0.5-amp charge is safer but takes too long to revive a dead ATV battery.
Variables That Influence How Long to Charge an ATV Battery
Paper numbers look neat, but real life isn't that tidy. Battery charging time can change for a lot of reasons, so it might take a couple of extra hours than expected. Most of the time, it comes down to one of these four things.
1. Depth of Discharge
This is a fancy way of asking how "dead" the battery is. A battery at 12.1 volts is much healthier than one at 10.5 volts. The deeper the depth of discharge, the more work the charger has to do.
If you left your lights on all night, you are starting from zero. If the battery just sat for a month, you are likely at 50%.
2. State of Charge and Voltage Testing
Before you plug in, do a multimeter test. Check the voltage reading. A healthy 12V battery should read about 12.6 to 12.8 volts when full. If your discharged battery reads 11.5 volts, you have a long road ahead. Knowing the starting state of charge helps you manage your expectations.
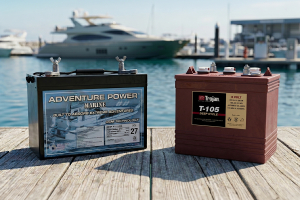
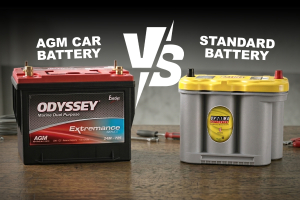
3. Battery Chemistry (AGM vs. Lithium vs. Lead-Acid)
Not all batteries are the same. AGM battery charging is very common for modern ATVs. AGM batteries are sealed and tough. Old-fashioned flooded lead-acid batteries might need you to check electrolyte levels before charging.
Then there is the new kid: Lithium LiFePO4. Lithium batteries are amazing. They accept current much faster than lead-acid. However, they need a specific charger. If you use a lead-acid charger on a Lithium battery, you risk a fire. Always match the charger to the chemistry. If you are upgrading, a lithium AGM hybrid battery gives you the cranking power of lithium with the reliability of AGM construction.
4. The Impact of Ambient Temperature
Chemistry happens slower in the cold. If your garage is freezing, the internal resistance of the battery goes up. The charger has to work harder to push those electrons in. In the winter, expect charging an ATV battery to take 20% longer than it would in the summer.
ATV Battery Charging Time Chart (at 2-Amp Constant Current)
Use this reference guide to see where you stand. These estimated hours assume you are using a standard 2-amp output.
Battery Capacity (Ah) | Voltage Start (12.1V) | Voltage Start (11.5V) | Voltage Start (10.5V) |
4 Ah | 1.5 Hours | 2.5 Hours | 3 Hours |
12 Ah | 4 Hours | 7 Hours | 8 Hours |
18 Ah | 6 Hours | 10 Hours | 12 Hours |
30 Ah | 10 Hours | 17 Hours | 19 Hours |
Notice how the time jumps as the capacity increases. A big utility quad battery needs almost a full day to recover from a total drain.
The Three Stages of a 2-Amp Smart Charger Cycle
A modern 2-amp smart charger does not just push power into a battery nonstop. Instead, it follows a controlled process that adjusts as the battery fills up. Each stage is designed to charge efficiently while protecting battery health.
Stage 1: Bulk charge
This is the main charging phase. The charger delivers a steady 2 amps to quickly bring the battery up to about 80 percent capacity.
Stage 2: Absorption phase
At this point, the battery is nearly full. The charger keeps the voltage steady but slowly reduces the current. This helps the battery fully soak up the remaining charge.
Stage 3: Float mode
The charger switches to a very low maintenance level. It only supplies enough power to offset natural self-discharge, so the battery can stay connected safely for long periods. This is the same principle a trickle charger or battery tender uses during off-season storage, keeping the battery topped off without overcharging.
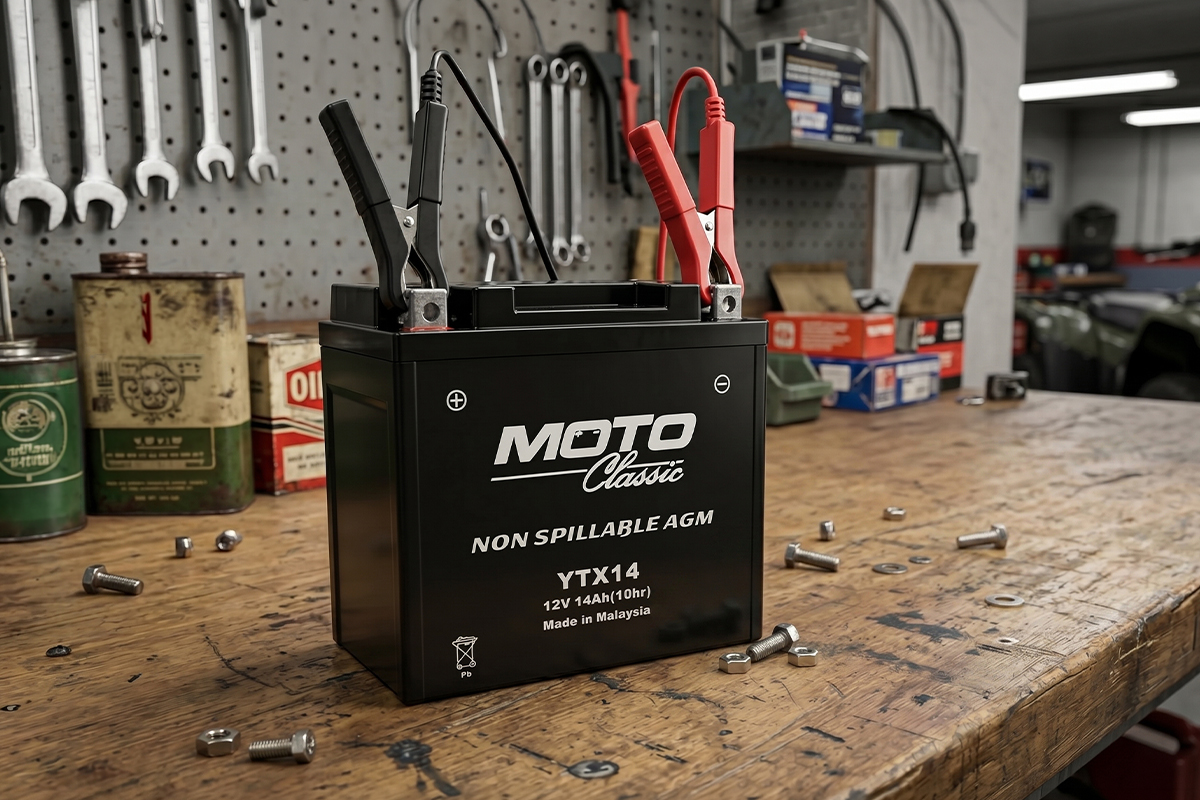
How to Connect and Charge Your ATV Battery Safely
Electricity deserves respect. If you do this wrong, you can cause a spark. Sparks near batteries are bad because batteries can release explosive gas. Follow these safety precautions every single time.
Clean the terminals. Use a wire brush. Remove any white crust or dirt.
Connect the positive terminal. This is the red wire. Always go red first.
Connect the negative terminal. This is the black wire.
Plug in the charger. Do not plug the charger into the wall until the clamps are on the battery.
Select the 2A setting. If your charger has multiple modes, pick 2 amps.
Monitor the progress. Check the battery after an hour. It should be slightly warm, but never hot.
When the charge is done, reverse the steps. Unplug the wall cord first. Then remove the black clamp, then the red.
Troubleshooting Why Your Battery Isn't Charging at 2 Amps
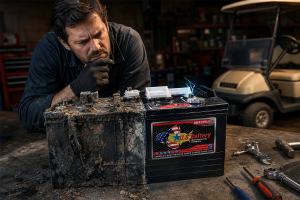
Sometimes, you follow the rules and nothing happens. You wait ten hours, but the quad still won't start. This usually means the battery has internal damage.
If you have a sulfated battery, the plates are coated in crystals. These crystals block the electricity. A 2-amp charge might not be enough to break through that crust. You might also have a bad cell. If one of the six cells inside a 12V battery dies, the whole thing is junk. When your ATV battery is dead and will not accept a charge no matter what you try, it is time to replace it.
Look at your charger. Are there charger error codes? A flashing red light usually means the battery won't hold charge. If the battery gets very hot or smells like rotten eggs, stop immediately. These are signs of a dangerous internal short.
Frequently Asked Questions (FAQs)
Curiosity is normal, and batteries are simpler once you understand the basics. Whether comparing charger speeds or learning safe use, knowing the facts keeps your 12V system reliable and ready:
Can I use a 2-amp car charger on my ATV?
Yes, as long as it has a 2-amp setting. Most car chargers start at 10 amps, which is too high. If your charger allows you to select 2A, it will work perfectly on a 12V battery. Just keep in mind that a motorcycle battery or ATV battery should never be charged at a rate higher than what the manufacturer recommends.
Is 2 amps too high for a small YTX4L-BS battery?
It is on the high side. For very small batteries (under 5Ah), a 1-amp charge is better. But 2 amps won't destroy it if you only do it once in a while.
How do I know when my ATV battery is done charging?
Your charger will likely have a green light. If you want to be sure, use a multimeter. Wait two hours after unplugging the charger. The voltage should sit between 12.6V and 12.8V.
Can You Leave an ATV Battery on a 2-Amp Charger Overnight?
Yes, but it depends on the charger. A manual 2-amp charger should not be left overnight because it can overcharge and damage the battery. A smart charger is safe since it switches to maintenance mode when full. It is especially useful for winter storage and long-term battery health.
Should I remove the battery from my ATV before charging it?
No. You don't have to pull the battery out every time. But here's the catch. Safety matters. Batteries can vent small amounts of gas during ATV battery charging. If your seat covers the battery tightly, that gas can get trapped. Always open the battery compartment or move the quad to a breezy spot.
Maximize Battery Life with Proper 2-Amp Maintenance
You plug in the charger, set it to 2 amps, and wait. Then the real question comes up, how long to charge an ATV battery at 2 amps?
A 2-amp charge is slow and steady. However, it protects the battery from heat and helps extend its lifespan. Small ATV batteries may take a few hours, while larger or fully drained ones can take much longer.
A quick voltage check helps estimate timing, and a smart charger can prevent overcharging automatically.
In the end, consistency matters more than speed. A proper slow charge ensures reliability, so your ATV starts when you need it without unexpected battery failure or downtime.