Schauer Battery Charger Manual: Setup, Safety & Basic Instructions
A dead battery is frustrating, but a charger that doesn’t work can be even worse. Without clear instructions, it’s easy to get confused by flashing LED lights or wonder if your connections are secure.
Lead-acid batteries carry real risks. One mistake could damage terminals, cause acid leaks, or release dangerous gases. Trying to fix a power problem without proper guidance isn’t just slow, it can be unsafe and costly.
That’s where the Schauer Battery Charger Manual comes in. It provides clear step-by-step setup instructions, easy-to-read troubleshooting tables, and essential safety tips.
Follow it, keep your connections tight, and charge with peace of mind. Your Schauer will keep you powered and back on the road safely.
Why Schauer? A Legacy of American Power
Before you get into the technical “how-to,” it helps to know why you have this charger. Schauer Electronics has been around since 1923. Based in St. Cloud, Minnesota, they are known for “over-building” their products.
When you pick up a Schauer, you are holding heavy copper transformers and steel casings. These are not cheap plastic chargers from big-box stores.
They are made to be repaired, not replaced. Because they last so long, it is common to need a manual even ten or twenty years after it was made.
How to Locate Your Model Number (The "Identity Crisis" Fix)
If you’ve looked at the table and realized you have no idea what model you own, don’t worry. It’s a common problem. Schauer chargers are built to survive grease, heat, and vibration. But their stickers aren't always as tough as the steel cases.
Here is where to look for your charger's technical details:
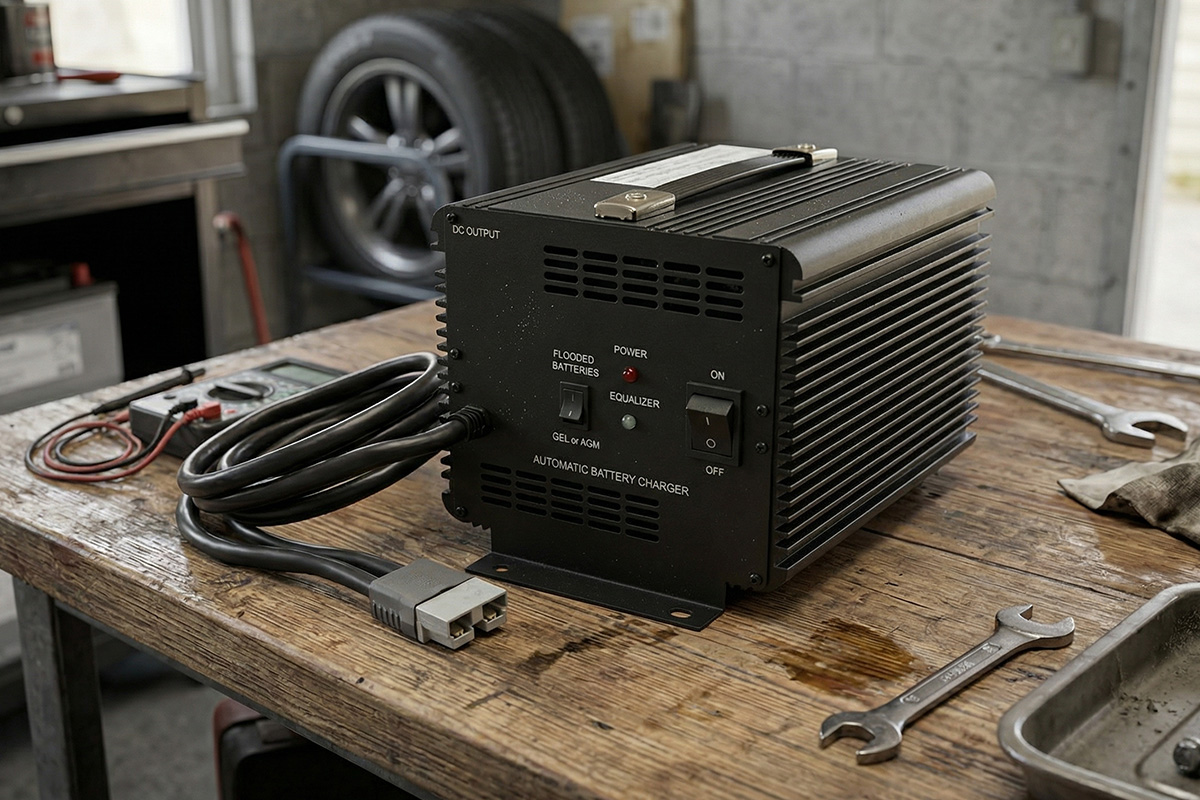
The Rear Panel: This is the most likely spot. Manufacturers place the ID plate here to protect it from the heat of the internal transformer. Look for a silver or white decal near the power cord entry point.
The Ammeter Face: Sometimes the model number (like "CM6A") is printed in tiny letters right on the face of the needle gauge.
The "Finger Test": On older, all-metal Schauer units, the model info might be stamped directly into the metal chassis. To find it, run your hand along the bottom edge or the underside of the unit. You should feel raised or indented lettering.
The Transformer Peek: If the exterior is completely blank, you can (while the unit is UNPLUGGED) remove the cover screws. Inside, you’ll see a large copper coil (the transformer). There is often a manufacturing part number on the paper wrapping of that coil. A quick Google search of that internal number will usually reveal which charger it belongs to.
Understanding the Specs: What Is Your Charger Telling You
A battery charger is essentially a "translator" between the high-voltage AC electricity in your wall and the low-voltage DC electricity in your battery. To use it safely, you need to understand Volts and Amps.
1. Voltage: The "Force"
This is non-negotiable. You just have to match the voltage of the charger to the voltage of the battery.
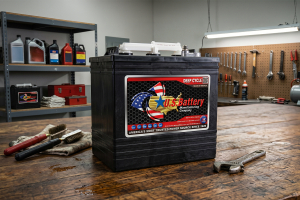
12V: Your standard car, truck, or boat battery.
24V/36V/48V: Typically found in golf carts, wheelchairs, and industrial lift equipment. Try finding a heavy-duty Schauer battery, specifically for that application.
The Risk: Using a 36V charger on a 12V battery will literally "boil" the battery, potentially causing it to explode. Using a 12V charger on a 48V system will simply do nothing. It doesn't have enough "push" to get the power into the battery.
2. Amperage: The "Flow"
Amps show how fast power moves into the battery. Think of Amps like the width of a water hose.
1-2 Amps (Maintainers): A slower charging. Great for keeping a battery healthy during winter storage.
6-12 Amps (Standard): With it, the charging is steady and regular. It’s good for charging a car battery overnight.
20-25+ Amps (Fast Charge): This gets you moving quickly but creates a lot of heat. For a shop environment where speed matters, a High Performance 25-amp battery hardly has any alternatives.
3. Automatic vs. Manual (The "Float" Factor)
This is the most important feature in your Schauer manual.
Automatic/Float Mode: A Smart Automatic charger has literal brains. They charge the battery to 100%, then automatically drop to a tiny "maintenance" charge. You can leave these plugged in for weeks.
Manual Chargers: These are a bit dumb (but powerful). They will keep pumping electricity into the battery until you turn them off. If you leave a manual charger on too long, you will ruin your battery.
Safety First: Pre-Charge Checklist
Before you connect a single clamp, let’s talk safety. Batteries contain sulfuric acid and can emit hydrogen gas during the charging process. Hydrogen is extremely flammable. One spark is all it takes to turn a battery into a plastic grenade.
Open the Windows: Never charge a battery in a sealed closet or a small, unventilated trunk. You need airflow to disperse gas.
Check the "Eyes": If your battery has removable caps, pop them off. Is the fluid (electrolyte) covering the lead plates? If not, add distilled water only. Do not use tap water; the minerals will kill the battery cells.
Inspect the Leads: Let’s say your Schauer cables are cracked, or the copper wire is showing. Do not use them. High amperage creates heat, and exposed wire is a fire hazard.
Step-by-Step Operating Instructions
Follow this order every single time. It feels like a small detail, but it prevents the "spark" from happening near the battery gas.
Turn Everything OFF: Ensure the charger is unplugged from the wall and the power switch (if it has one) is in the "Off" position.
Connect Positive (Red): Attach the red clamp to the Positive (+) terminal of the battery. Give it a little wiggle to make sure the "teeth" of the clamp are biting into clean metal.
Connect Negative (Black): Attach the black clamp to the Negative (-) terminal. Pro Tip: If the battery is inside a vehicle, many manuals recommend connecting the black clamp to a clean metal part of the engine block or frame. This keeps any potential spark away from the battery's gas vents.
Plug it In: Now, walk to the wall outlet and plug in the power cord.
Set the Controls: If your model has a timer or an Amp selector, set it now. You should hear a low, comforting hum from the unit.
Reading the "Language" of the Gauge (Amphere Meter)
Your Schauer charger communicates through its ammeter (the needle gauge) or LED lights. Here is how to translate what it’s saying:
Needle Jumps to the Right: This is normal! It means your battery is "hungry" and is drinking up all the power the charger can give.
Needle Slowly Moves Left: As the battery fills up, the needle will drift toward zero. When it hits the "Finish" or "Full" zone, your job is nearly done.
The Needle Never Moves: This usually means the battery is so dead (sulfated) that it won't even "talk" to the charger.
Flashing Red Light: On newer JAC models, this often indicates a "Reverse Polarity" error (you put the clamps on backward).
Quick Status Guide
Sometimes, the indicators can be confusing. Check out that they actually mean below:
Indicatoring Parameters | Meaning | What To Do |
Steady Green Light | Battery is 100% full. | Unplug and enjoy your day! |
Loud Buzzing/Vibration | Loose transformer plates. | Annoying, but usually safe to use. |
Hot Case / Burning Smell | Overheating or internal short. | Unplug immediately. Do not use. |
Needle Bouncing | Poor connection at the clamps. | Clean the battery posts with a wire brush. |
Troubleshooting Common Schauer Problems
Even the toughest machines have bad days. If your charger isn't performing, check these three things before you consider replacing it.
1. The "Too Dead to Charge" Problem
Modern "smart" chargers (like the JAC series) need to detect a small amount of voltage (usually about 4 to 6 volts) before they will turn on. It’s a safety feature to prevent charging a shorted battery. If your battery is at 0 volts, the charger thinks it’s not connected to anything.
The Fix: Use a set of jumper cables to connect your dead battery to a "good" battery (like in a running car) for 5-10 minutes. This will put a "surface charge" on the dead battery, raising its voltage enough to "wake up" the Schauer charger.
2. The Blown Fuse
When you have zero lights and zero hum, check the fuse. Most Schauer chargers have a fuse accessible from the back or inside the case. If there was a power surge or if you accidentally touched the clamps together, the fuse did its job and died to save the transformer.
The Fix: Replace it only with the exact same Amp rating. Sometimes, the manual calls for a 10A fuse. So, don't put in a 20A fuse in that case. That's how garage fires start.
3. The "Hissing" Battery
Hearing a bubbling or hissing sound and smell "rotten eggs,"? Stop the charging immediately.
This is the smell of sulfur. Your battery is either being overcharged (if you're using a manual charger) or it has a "shorted cell."
A shorted cell is a physical break inside the battery. No charger can fix this. You need a new battery.
Service and Maintenance for Your Schauer Charger
Treat your Schauer right, and it will likely outlive the vehicle it’s charging. Here’s what to do:
Clean the Clamps: Battery acid is a "creeping" corrosion. Every few months, scrub the copper teeth of your clamps with a wire brush and a little baking soda/water mix. Clean teeth mean less resistance and a faster charge.
Keep it High and Dry: Don't store your charger on a concrete floor. Concrete holds moisture, which can lead to rust inside the transformer. Hang it on a sturdy wall hook or keep it on a wooden shelf.
The Cord Wrap: When coiling your cables, do it loosely. Tightly wrapping cables around the charger "neck" eventually snaps the internal copper strands, leading to intermittent power issues.
Frequently Asked Questions (FAQs)
Even a full technical guide can bring in some questions. Here are the most common ones you might have in the manual:
How do I find my Schauer charger's model number if the label is missing?
Check the rear panel near the power cord, look for tiny print on the ammeter, or feel for stamped lettering on the metal chassis. You might also find a part number on the transformer’s coil wrapping inside. A little inspection usually reveals it.
What is the most critical rule for charger voltage?
Always match the charger’s voltage to the battery. Using too high or too low a voltage, like 36V on a 12V battery, can severely damage the battery, cause leaks, or even lead to an explosion. Voltage alignment is non-negotiable.
Why won't my Schauer charger turn on for a completely dead battery?
Many chargers need a small surface voltage around 4–6V to detect a battery. If the battery is fully dead, the charger won’t start. A brief jump-start provides just enough charge for the unit to recognize and begin charging itself.
What should I do if my battery is hissing and smells like rotten eggs?
Stop charging immediately. Hissing and a strong sulfur smell mean overcharging or a shorted cell. This is a permanent failure. The battery cannot be repaired and must be replaced to prevent hazards. Safety first.
How can I tell if my Schauer charger is fully charging the battery?
Watch the ammeter. When charging starts, the needle jumps high, then slowly drifts left toward the “Finish” or “Full” zone as the battery fills. Once it stabilizes in the full zone, the battery is properly charged.
How do I maintain my Schauer charger for longevity?
Keep the clamps clean from corrosion, store the charger off the concrete, and coil cables loosely to prevent breaking the copper inside. Treat it gently, and it can last decades, powering batteries reliably without fuss.
Ready to Power Up Your Schauer Battery Charger
Your Schauer Battery Charger is built to last for decades. Use the right voltage, follow the proper amperage, and keep connections clean, and it’ll run like new. Who wants a dead battery, right?
Keep the Schauer battery charger manual nearby, whether in your glovebox or on your phone. You may be maintaining a classic car, a fleet of golf carts, or a backup UPS. Your charger is designed to handle it reliably for years to come.
Follow the instructions, keep your connections snug, and your gear will always be ready when you are. Don’t let a dead battery slow you down.
Trust your Schauer to give you power on the go. Just hook up the battery and get back to your day.